LINT BUILDUP CAUSES SKIPPED STITCHES AND MORE
How to clean lint from your sewing machine
Did you know that lint can build up in your sewing machine, resulting in skipped stitches and other problems?
I’ll show you how to clean it! Now, I’d love to say that I purposely let this build up over a month so I could show you really clearly what happens but….I let it go for too long. That’s ok, life’s like that sometimes! It only takes a couple of minutes to get that dust out so let’s do it together.
1. Gather your sewing machine tools.
Get your tools out! I like cotton buds, micro dusters, and the brush that comes with your machine.

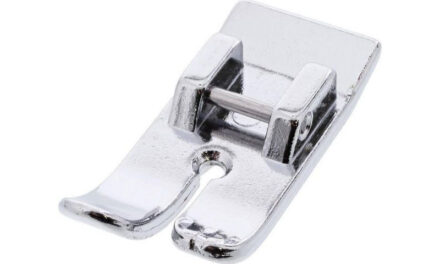
2. Remove your needle and foot.
Use a screwdriver to remove your needle and foot. Safety first! Also be sure to dust that top part, as it tends to attract fibres too.

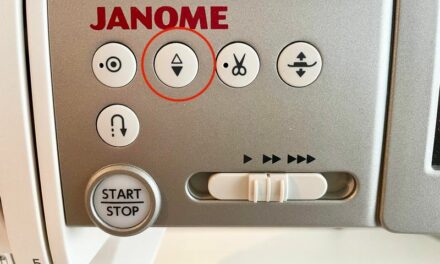
3. Lift the needle plate.
Lift up your needle plate. Your machine might do that at a press of a button like my Janome M7. There could be a release in your manual, or you could pop it off with a screwdriver.

4. Remove and dust the bobbin holder.
Remove your bobbin holder and give it a good dusting. It will pop out easily. A good trick is to take a photo before you take it out, so you’ll know how to put it back properly!

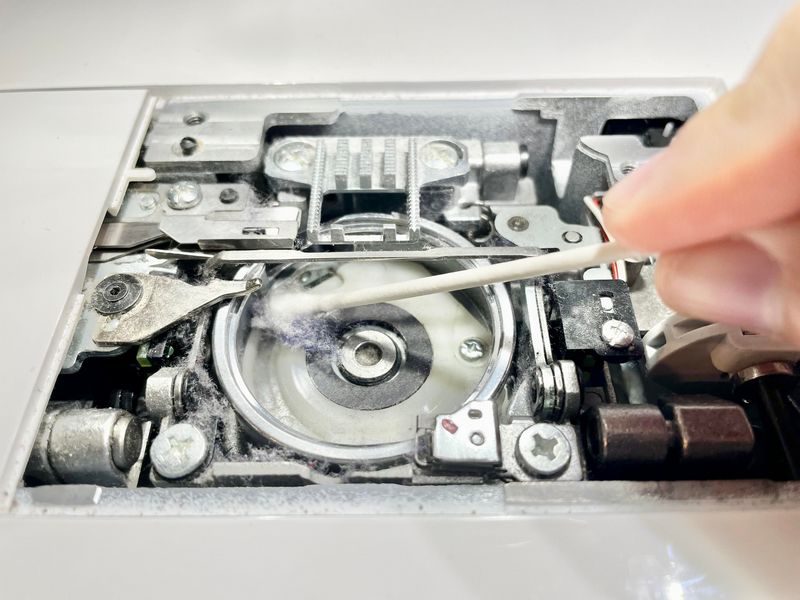
5. Dust everything thoroughly.
Dust the inner workings of your machine thoroughly. I’ve circled all the main places that need help on my machine. Look how much lint is collecting on the cotton bud!


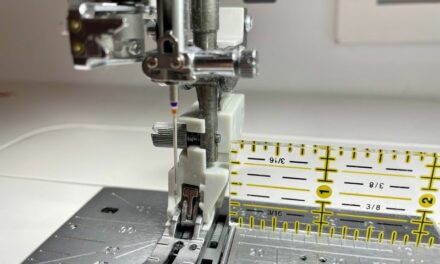
6. Put it back together.
Now pop everything back together like before and look at how much you cleaned out of there. Well done! Try to do this weekly if you sew an hour or two per day like me. If you’re sewing for many hours per day, you might want to do this daily!
Cleaning out your machine is always a good step when troubleshooting sewing issues.
Happy stitching!

ABOUT THE AUTHOR
Michelle Brassens