
What are the best quilting techniques to make your quilt last?
You’ve put a ton of work into your quilt top. After it’s sandwiched together with batting and backing, it’s time to quilt! Here are some top tips to make sure your quilt and quilting holds up over time.
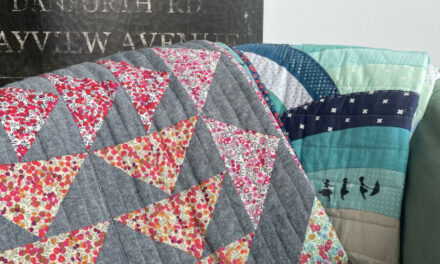
Good batting will have a minimum stitch width recommendation. That’s basically how far apart your lines need to be in order to ensure the batting holds up within the quilt long term. If you don’t follow guideline the batting will separate over time, in both directions. So make sure to look up what’s necessary for the batting you’re using and follow that.

The greater the stitch width recommendation, the stronger the batting is. Makes sense doesn’t it? So if you’re looking to quilt something more minimally, make sure you choose the right batting for the job.
If you are simply hand tying a quilt, go 25-50% closer. Hand tying doesn’t give the same strength across a quilt that hand or machine stitching does.

(A combination of hand and machine quilting is great for longevity)
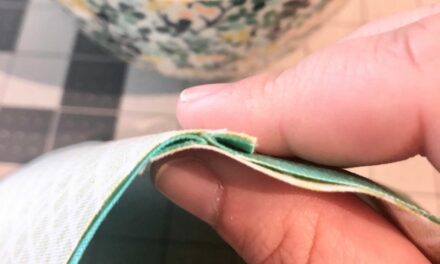
Be gentle when handling batting. It can stretch or distort since it’s not woven together. You could end up with empty spots in your quilt. If you know you’ll be wrestling a large quilt through a small machine, opt for batting with scrim. Scrim is a fine mesh that’s needle punched into batting to give it strength.

(Batting can pull apart if you’re handling it too roughly. Be gentle)
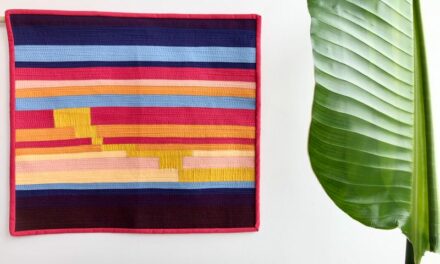
The more densely you stitch a quilt, the cooler it will be. All the holes created from the stitching will let warmth escape. Take this into consideration when planning your stitch pattern and what the quilt will be used for once done.

(Dense stitching is great for mini quilts!)
Allow 4” of batting on each side when basting your quilt. The batting will shrink in as you quilt. The extra will allow for that as you go, so you aren’t stuck at the edges with no batting left.
Follow these tips and you’ll have a beautifully finished quilt that will stand up to daily use.
Happy stitching!

ABOUT THE AUTHOR
Michelle Brassens
