How do you clean up those little threads left after ripping stitches?
Ripping out stitches. It’s inevitable unfortunately! I have a really great trick that helps it go faster with a cleaner finish at the end.
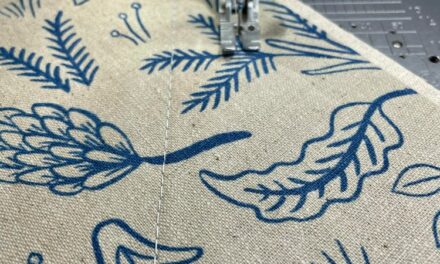
I was long arm quilting and I really hated how the design was turning out. So I sucked it up and started picking. I picked about every 5 stitches across a 8-9” length.

Then, pull the bottom thread and most of it will pop out. You’re left with a lot of little threads stuck though and these can be tedious to pull out individually.

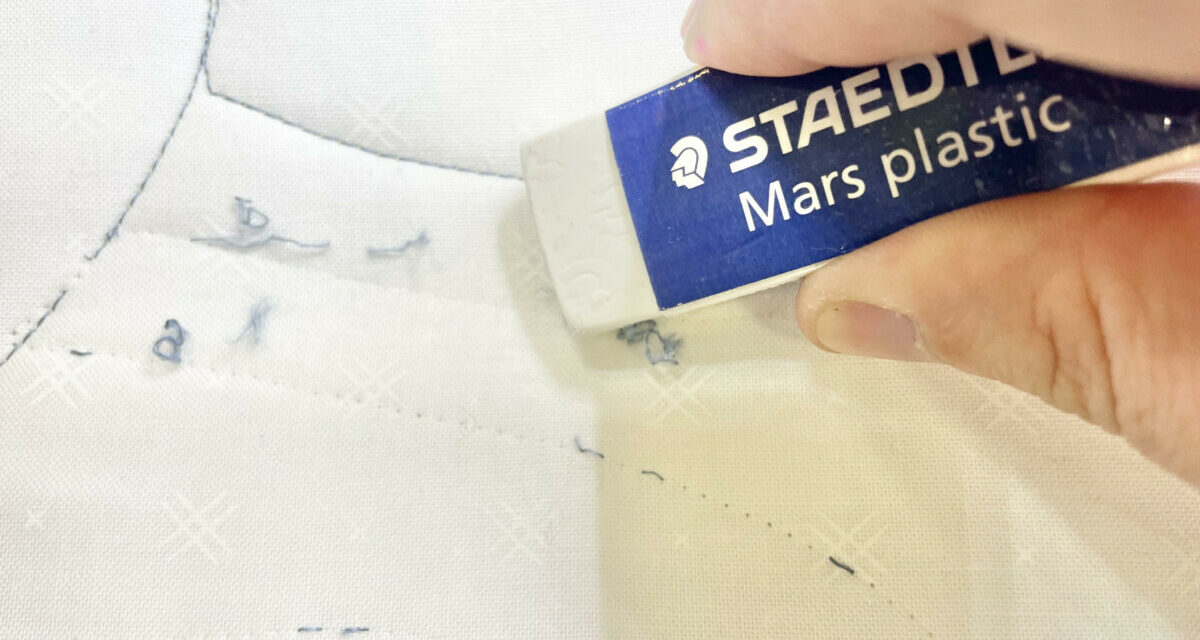
Now the handy little helper you might not have thought of- an eraser! Just rub it along those threads and they will come right out!


How great is that?! I keep a new one in my sewing bag, the plastic ones are best. Skip the ones that have already been used to erase pencils since you could leave lead marks behind on your fabric.
So even if you do have to pick out stitches and it’s totally the worst, this helps it go a lot faster.
Cheers to more good stitches, friends!

ABOUT THE AUTHOR
Michelle Brassens
Hi, I’m Michelle! I’ve never met a craft I didn’t like. Sewing however was where I really found my groove! So I left behind life as a pastry chef and concentrated on making things with fabric instead of food. I work at Dinkydoo Fabrics now and get to write about sewing and quilting for work. Stick with me and I’ll show you all kinds of tips and tricks, from beginner to expert maker level. Can’t wait!