FOAM DOESN’T LOSE ITS OOMPH!
What is Bosal Foam Interfacing? How do you use it?
Foam interfacing provides great structure for bags, so it doesn’t lose it’s shape when you put it down. It’s rigid nature makes it a perfect fit.
It’s Great For:
- It provides a sturdy, rigid structure for bags.
- It’s light weight, so it reduces strain on your body when carrying your bags.
- It returns to its original shape if squished, which makes it perfect for packing bags for trips.
- It’s long-lasting, which means your bag projects will stand the test of time.
- It doesn’t tear easily, which makes it very durable.
- It’s easy to sew. It compacts under the needle nicely.
- It protects from damage. Bags made with foam are great for holding things you don’t want to break, such as small bottles of essential oil.
Foam interfacing is one of my mega favorites. It makes bags very standy-uppy (technical term) and they stay that way! I love being able to put a bag down and it stays standing up all on its own.
Foam doesn’t lose its oomph over time!
It’s really light weight which is so nice for carrying, especially when making bigger bags! It can be squished up in all manners and then it returns to shape right away once released. That’s great news for when you have to jam a makeup bag in your suitcase, as it will come back to shape once you arrive at your destination.
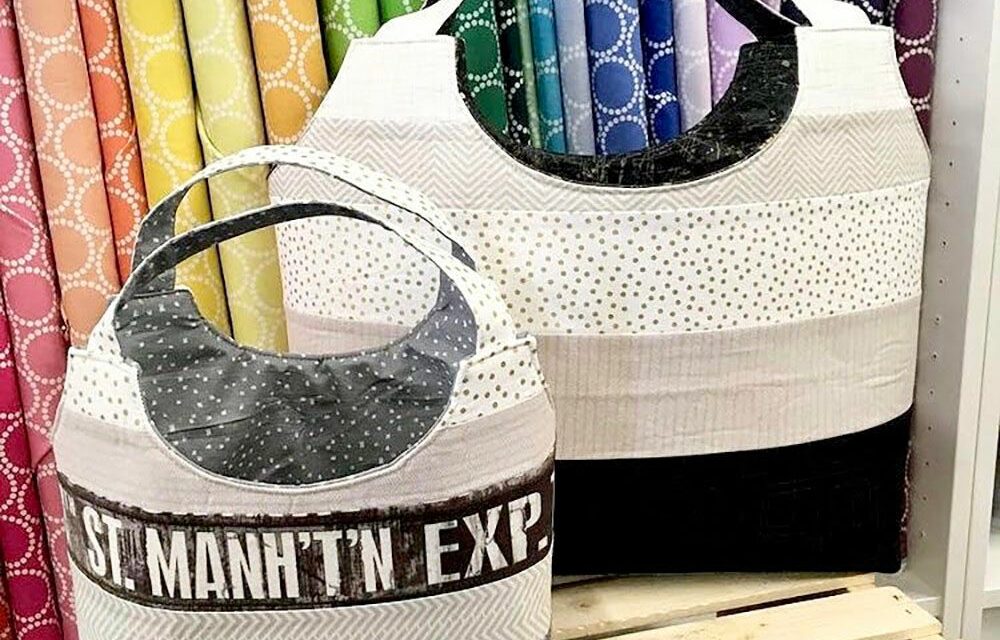
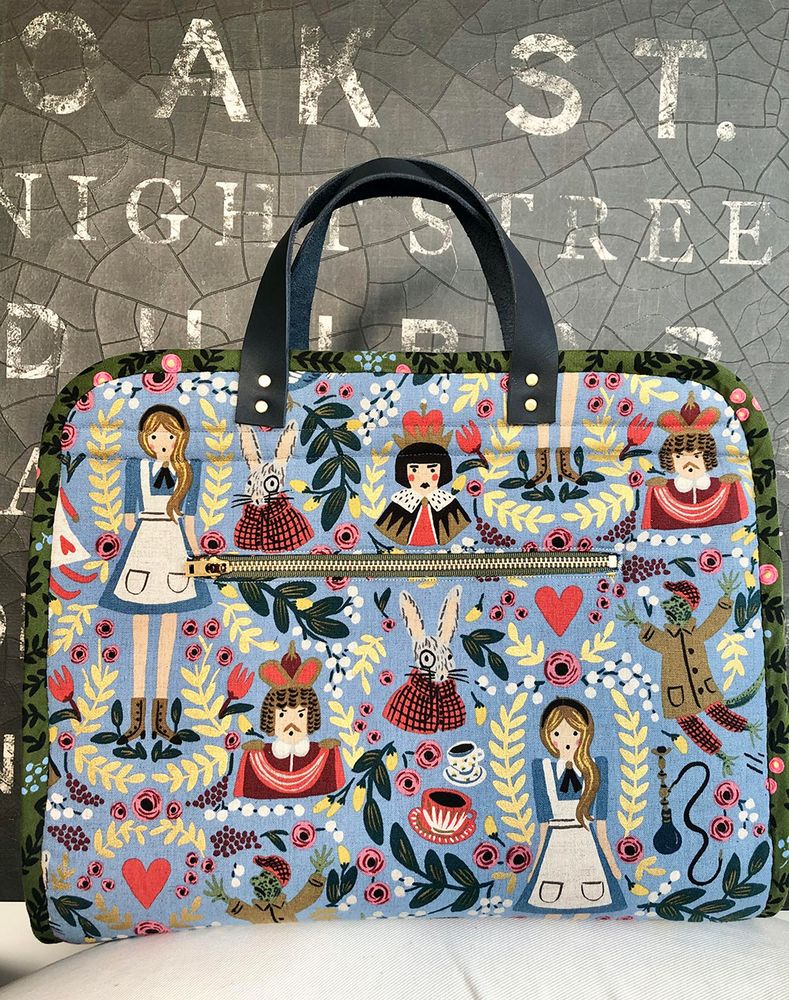
Bosal In-R-Form is the main interfacing I used to make this Maker’s Tote below – the patter is by Noodlehead.
What is it made of?
Bosal interfacing is made up of three layers: 1 layer of foam is sandwiched in between 2 layers of tricot fabric, making it easy to handle and use.
How thick is it?
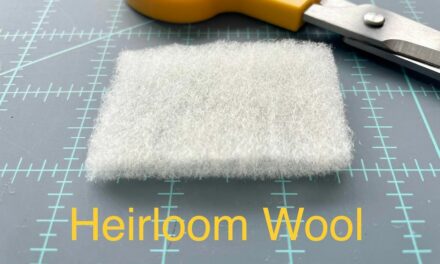
Bosal foam is 1/4″ thick. You can see the foam layer in the picture below.
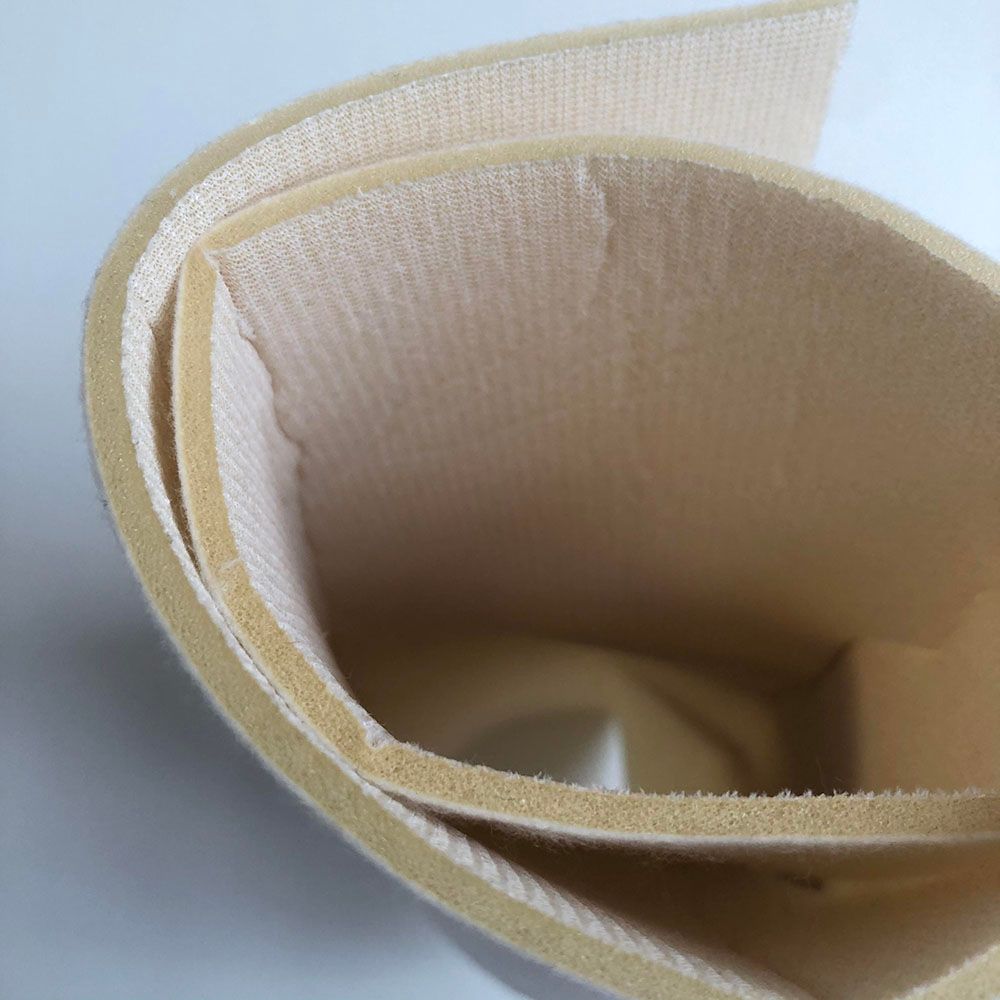
Bosal foam doesn’t not warp or tear easily at all. The layers on the outside can be fusible or there is also sew in.
I find that I use one sided fusible the most in my projects, but sew in is very easy to use as well!
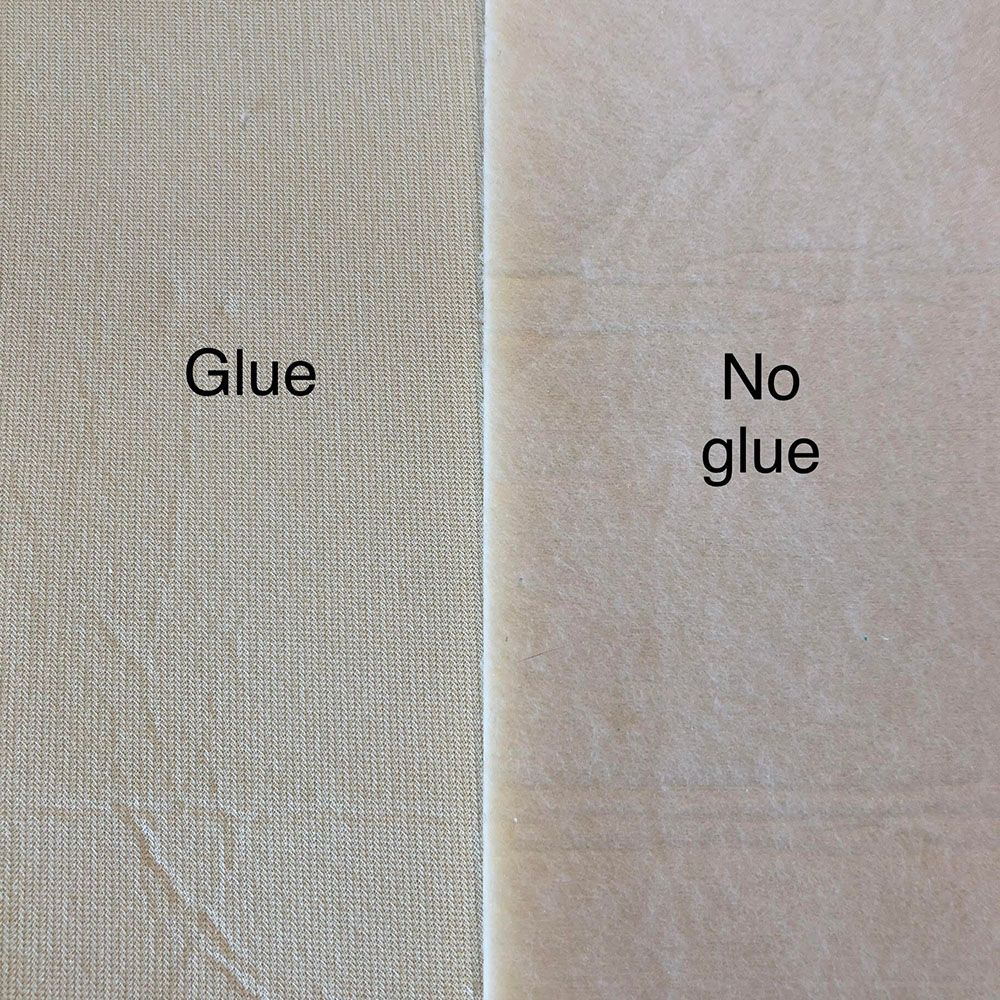
The tricot fabric has almost a felt feeling to it and fabric will cling to it decently on its own. As usual, the sides with fusible glue are scratchy, and the sides without are soft.
Foam compacts under the needle really nicely too. Sometimes patterns will ask you to remove the interfacing from the seam allowance. I’ve found that in a lot of cases with foam it’s not necessary to do this since it squishes down so much. There’s a lot of air inside that foam!
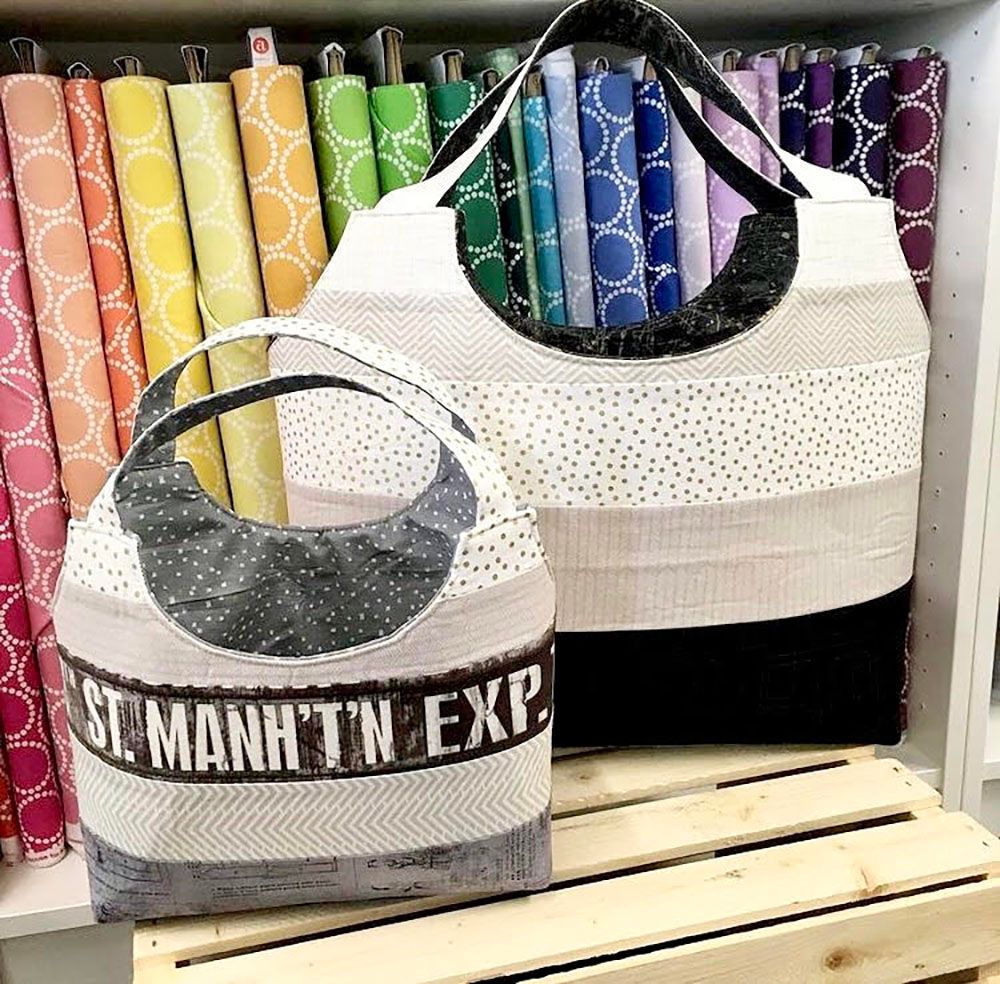
P.S. if you’re wondering how rigid the foam is, check out the totes I made below. They stand up so nicely, even with nothing in them!
How do I sew with foam?
1. Don’t quilt through it.
Since it’s a lot of air, what I don’t like to do is quilt through it. You can, but beware that this will compromise the integrity of the foam by creating ‘breaks’ and it will flop over at these sewn lines. If you do want to quilt, vertical lines are better.
2. Use wonder clips. Don’t use pins.
Using wonder clips is most helpful if you need to hold things together while sewing. Pins will work but you’ll want heavier duty ones like flower head pins.
3. Smooth out your wrinkles before fusing.
For fusing, I like to layer my fabric on the top and smooth out any wrinkles. Start in the middle and work your way slowly out to the sides. A bit of misted water or a damp pressing cloth can be helpful too. Test the bond at the edges once cooled. Add more heat if necessary for any missed spots. If your foam has deep wrinkles before fusing, these will come out in the fusing process with some extra steam.
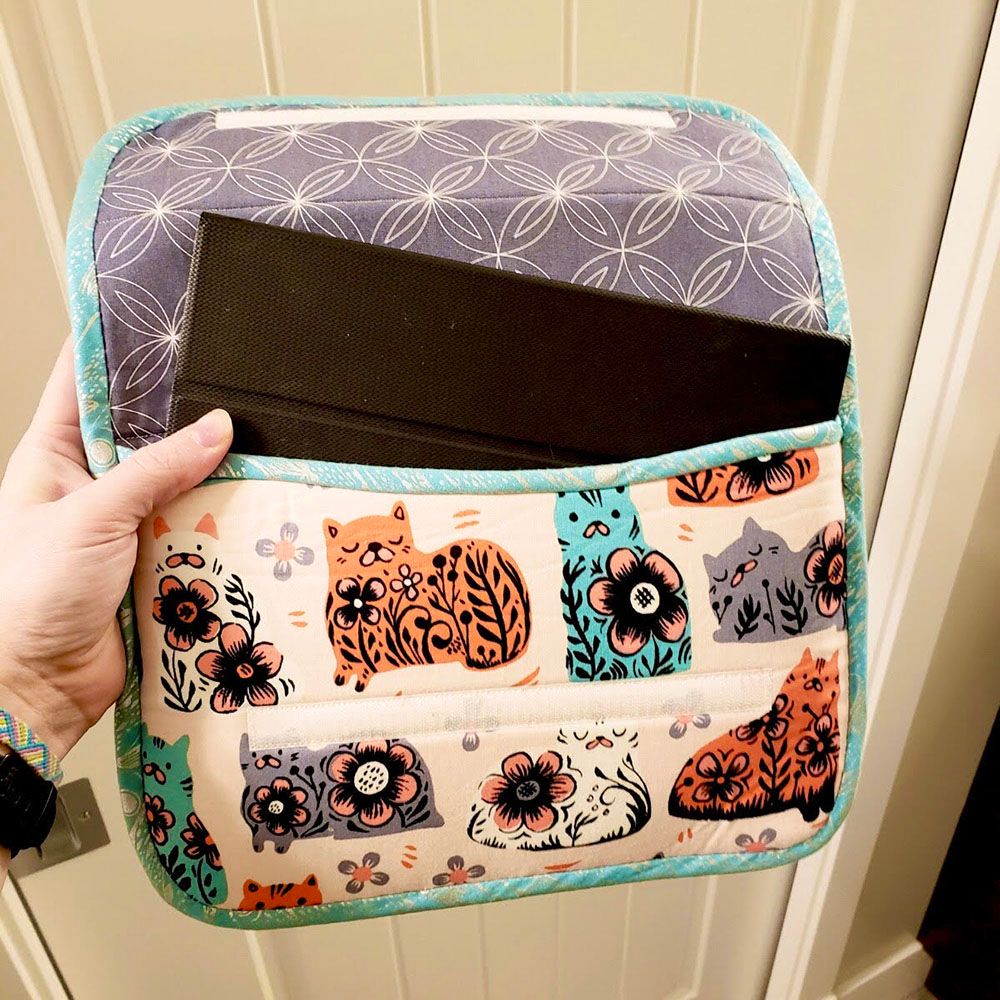
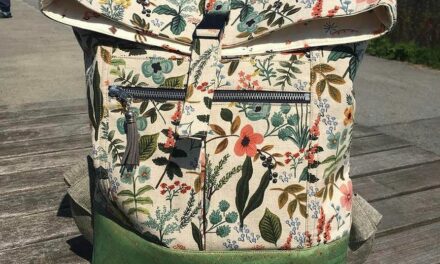
Foam interfacing is really great for small cases for things you don’t want to be damaged. Tablets and bottles of essential oils benefit from the extra cushioning it provides!
I love the iPad case I made (seen above!) – it’s definitely a great project idea to use with foam, as it adds so much more personal style than a standard tablet case.
Are you a fan of this interfacing like I am? Or hoping to give it a try? We hope this has been helpful for you!
Happy stitching! 🙂

ABOUT THE AUTHOR
Michelle Brassens

