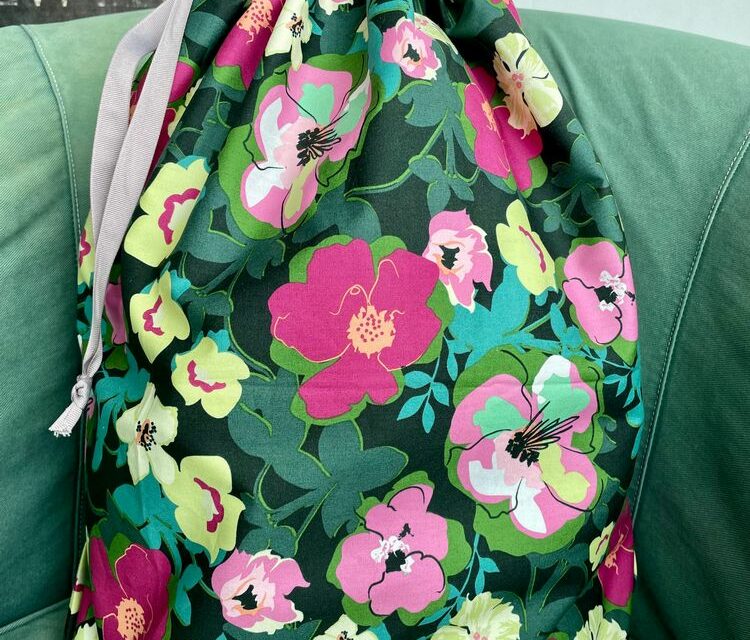
Quick and Easy 1/2 Yard Gift Bag Tutorial!
I’ve been on a mission to get rid of wrapping paper and other disposables entirely for gift giving. The waste is kind of bananas and the super cute stuff I love always costs a fortune.
I looked around for a super simple and quick bag tutorial and couldn’t find anything that I loved. So I worked this out and I’m sending it to you! This is the perfect quick project for making a bunch to have in your holiday supplies and fast enough to knock one out when your kid says they have a party to be at in a few hours!
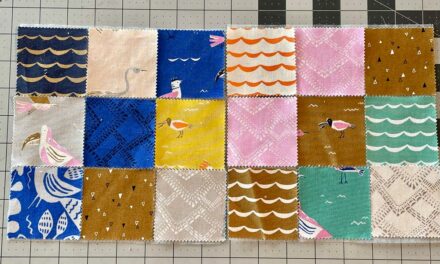
So grab a cute half yard of fabric (non directional is easiest!), a yard and a half of ribbon, and make a drawstring gift bag with me. To make it even more budget friendly, be sure to pick out some great quilting fabrics on sale!
1. Fold your fabric right sides together
Fold your half yard of fabric right sides together with selvages matched up at the top. The selvages are going to help later.

2. Fold the bottom of the fabric
Fold the bottom of the fabric within itself at both edges, 2” up. Here’s what it will look like. This easy technique gives you a boxed bottom and is totally optional. Skip it if you just want a flat bag.

Related: Quick & Easy NO SEW Basket Project!
3. Place your clips
Place your clips to hold the boxed bottom in place. Sew, stopping 2” from the open top edge. Mark with pins if that is easier for you.

4. Press your seams open
Press your seams open, continuing to open the fabric past your seam line so you have 1/4 all the way to the top.

5. Sew a U shape
Sew a U shape along that open part so the seam is finished. (If you need help, take a look at the picture below.)

6. Fold the top edge down
Fold the top edge down 1”, and press all the way around the bag. Our selvages work nicely here for a tidy look.

7. Sew around the bag
Sew all the way around the bag at the edge of your pressed down selvage.

8. Turn your bag right side out
Turn your bag right side out and thread some ribbon through the channel. Tie a knot at the end.

9. Put your gift in the bag
Fill it with a gift! This size fits a lap quilt nicely.

Now that you know this technique you can vary the size of bag easily!
Happy stitching and gifting!

ABOUT THE AUTHOR
Michelle Brassens
