TIME TO RAID YOUR TOOLBOX
How to do Straight Line Quilting
I’m a big fan of straight-line quilting. It’s simple and clean-looking. It’s definitely hard to achieve though and keep those lines straight throughout the process!
Are you ready for a tip that will help immensely with the process?
Raid your toolboxes friends because painter’s tape is awesome for marking off those lines. It’s low tack so won’t leave any residue behind on your quilts.
Here are 7 easy steps to achieve straight-line quilting with a nifty lattice effect.
1. Baste your quilt.
Baste your quilt as usual, and lay on a flat surface. I don’t have a design wall but the floor works just fine!

2. Tape your quilt from corner to corner. (Lattice design)
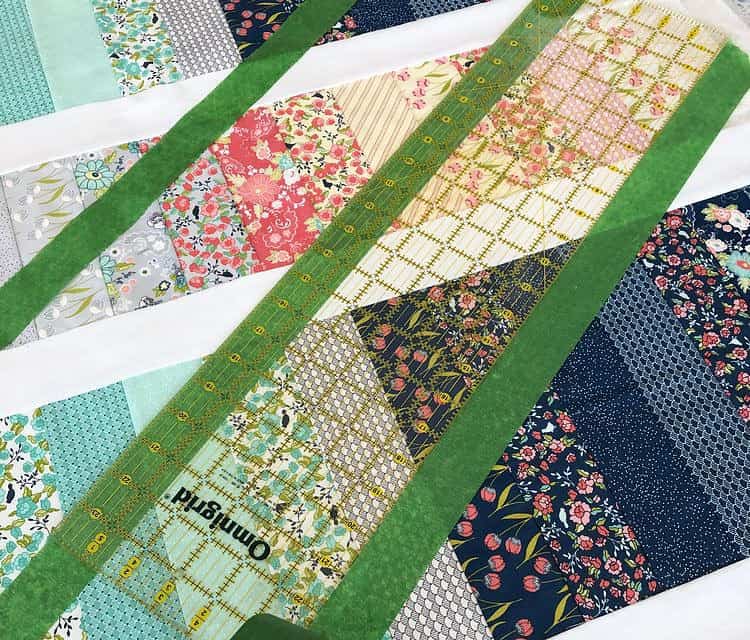
For this design, I want to achieve a lattice look, so I’ve laid down one strip of tape from corner to corner diagonally.

3. Line up the next piece.
Use a ruler to line up the next piece of tape, sliding the ruler down as you go to keep things level the whole way.

4. Repeat!
Repeat Step #3 until you have all of your lines taped.

5. Sew on both sides of the tape.
Sew on both sides of the tape, trying not to sew on the tape itself. That makes the tape harder to remove and you might need to get out the tweezers to putt out any bits stuck under stitches.

6. Remove the tape.
Remove the tape. I find breaking it in a few places helps with removal. You could be finished here, and just have diagonal stripes. I wanted to take it a step further though. Lay the tape down in opposite direction, following the same method as before.

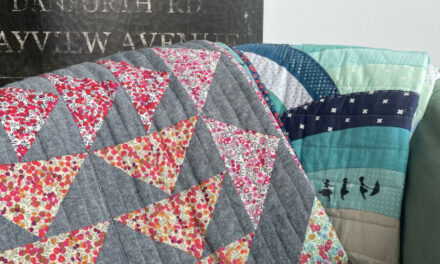
7. Stitch your lines.
Stitch your lines, remove the tape, and voila! A lovely lattice. Trim the excess fabric and bind!

Have you tried this method out before? Think you’ll use it in the future? Enjoy!
Happy stitching!

ABOUT THE AUTHOR
Michelle Brassens